
Settings at a glance: For crisp pet photography at home, set your camera to aperture priority or manual mode, open your lens to f/2.8 or f/4, keep shutter speed at 1/500s or faster, and let Auto ISO balance exposure. Position pets near a bright window and get flat on the floor at eye level.
Every pet owner wants beautiful portraits of their dogs and cats, but capturing domestic animals indoors frequently ends in blurry snaps and frustrating camera struggles. Through phone screens or viewfinders, our companions look calm and adorable. On a larger computer monitor, slight head twitches create fuzzy whiskers, eyes look dull without light, and downward angles make pets look small and unengaged.
Most failed indoor pictures happen because home living rooms have far less ambient light than our eyes perceive. When cameras drop into automatic mode, they choose slow shutter speeds that cannot freeze animal movement. Simultaneously, towering over an animal while pointing a lens downward creates an awkward visual barrier. Compelling pet photography requires thoughtful camera setup, gentle patience, and an understanding of animal behavior.
When you explore pet portraits indoors, do you notice how easily dogs and cats become distracted? Natural patience will always beat rushed shooting. Soft window light helps illuminate dark fur instead of flash, while practical steps transform everyday sessions. Beginners can compare their test results as unexpected questions arise. Learning how animal body language guides unpredictable movements will keep your camera ready for spontaneous expressions.
Why Does Eye Level Perspective Transform Pet Photography?
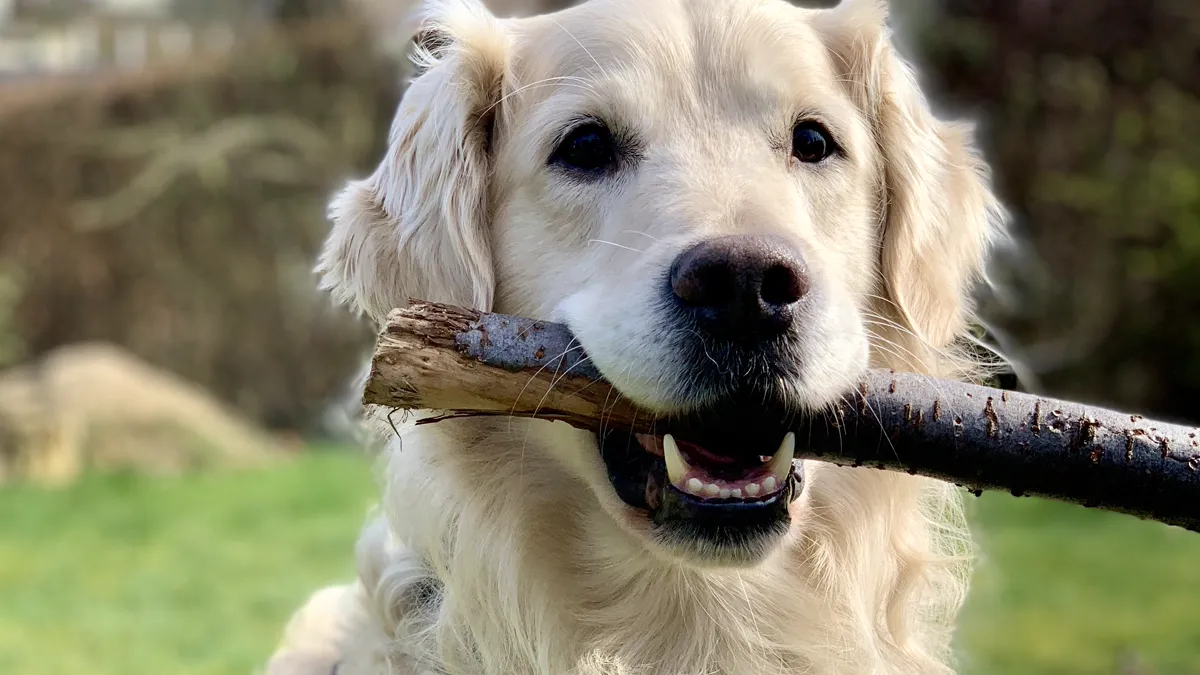
The single most impactful adjustment in pet photography is getting your camera down to the animal’s exact eye level. Most people stand at human height and shoot downward at a 45-degree angle. This common perspective distorts pet proportions, making heads look unnaturally large while shrinking paws and bodies. Worse, it reinforces a detached human-looking-down viewpoint.
When you drop onto your knees or lie flat on your stomach, the entire photographic perspective shifts. Background clutter like living room carpets and baseboards drops away, replaced by distant walls or garden foliage that blur into pleasing background separation. More importantly, eye-level composition brings viewers directly into your pet’s emotional world, creating powerful intimacy and soulful portraits.
If you have explored our beginner guide to backyard bird photography, you know that matching your subject’s physical height is essential for wildlife. The same rule applies to household pets. Whether photographing a tiny kitten on a rug or a tall hound resting on a sofa, align your lens axis parallel with their eyes for authentic engagement.
World-renowned canine photographer Kaylee Greer has frequently noted in professional workshops that the greatest leap in pet portraiture occurs when the photographer physically hits the floor. Greer emphasizes that looking up slightly from eye level gives companion animals dignity and personality, elevating everyday pet snapshots into timeless works of art.
7 Essential Field Rules for Pet Photography
To consistently capture sharp, expressive pet pictures without causing stress or frustration, follow these seven proven guidelines:
- Lie flat on the floor: Bring your lens down to your pet’s eye height or slightly lower. This simple physical change eliminates unflattering downward angles and generates clean background blur.
- Prioritize soft window light: Position your pet perpendicular to a large window or glass patio door. Diffused natural daylight creates bright reflections in the eyes without casting harsh facial shadows.
- Banish direct camera flash: Never point a pop-up flash or direct speedlight at a pet. Flash startles sensitive animals and triggers unsightly green or red eye reflections from their reflective retinal tapetum lucidum.
- Keep shutter speeds at 1/500s or faster: Even resting dogs and cats twitch their ears, blink, and turn their heads quickly. A fast shutter speed ensures tack-sharp focus on fine whiskers and iris rings.
- Switch to continuous autofocus: Activate animal eye autofocus or continuous tracking (AF-C or AI Servo). Lock your active focus point on the eye closest to your camera lens.
- Engage silent electronic shutter: Turn off camera beeps and switch to silent shutter mode. Sharp mechanical shutter clicks sound like sudden predatory snaps, causing nervous pets to flatten their ears.
- Keep sessions short and rewarding: Structure photo sessions into brisk five-minute play bursts separated by rest and treats. Never force a stressed pet to stay in place once they lose interest.
How Can You Use Window Light Instead of Flash?
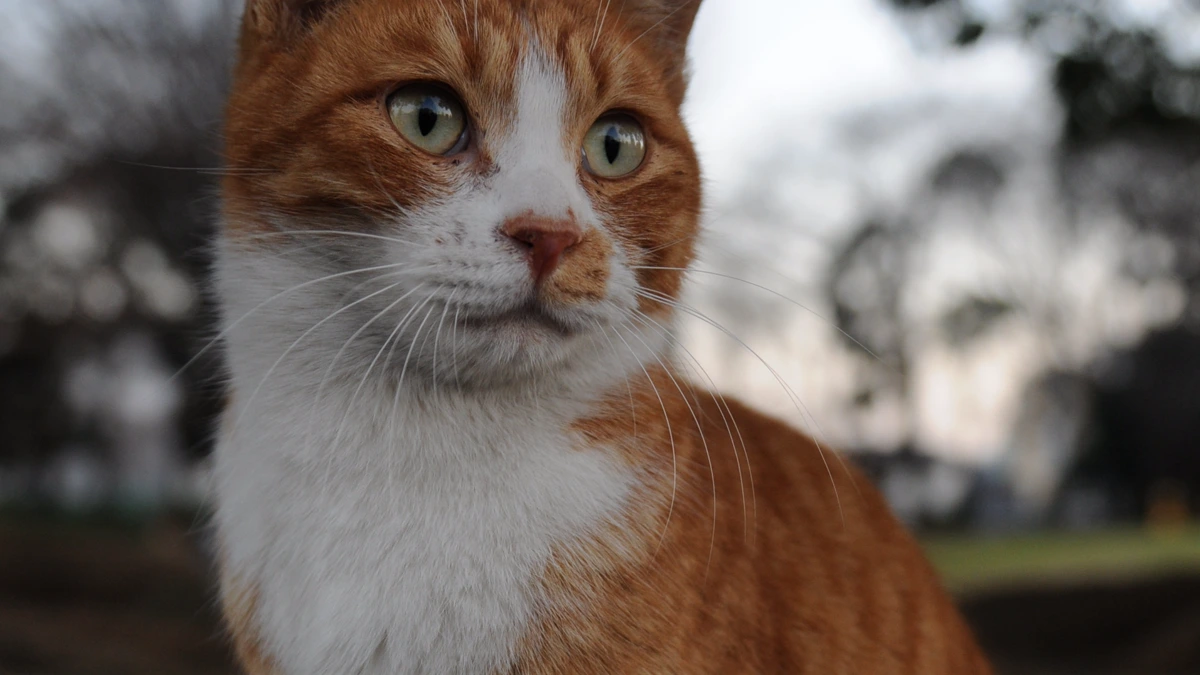
Natural window light is the premier illumination source for home pet portraits because it is soft, constant, and completely non-threatening. North-facing windows or windows shaded by outdoor porches act as giant softboxes, casting flattering, directional light across fur textures without harsh squinting glare.
To set up an indoor window portrait, position your dog or cat roughly two to four feet away from the window, angled so the daylight strikes them from a 45-degree angle. This classic portrait lighting illuminates one side of the face while casting gentle, dimensional shadow across the other, accentuating muscle structure and muzzle contours.
Notice the reflections in your pet’s eyes, known as catchlights. A bright window creates large, rectangular catchlights in the upper pupil, giving the animal an alert, expressive gaze. Without catchlights, pet eyes often look dark, lifeless, and glassy.
In our field tutorial on fall foliage photography techniques, we explored how directional daylight enhances natural colors. When photographing pets indoors, avoid mixed lighting where warm artificial ceiling bulbs clash with cool blue window light. Turn off yellow overhead incandescent lamps so your camera sensor records clean, balanced natural tones.
Which Camera Settings Freeze Unpredictable Pet Movements?
Setting your camera for domestic pets requires balancing motion freezing with indoor light gathering. Because pets never remain completely stationary, shutter speed is your most critical setting. For a calm dog or resting cat, set your shutter speed to at least 1/500s. For puppies, kittens, or playful fetch sessions, increase your shutter speed to 1/1250s or 1/2000s.
To gather enough light indoors at these fast shutter speeds, pair your camera with a fast prime lens (such as a 35mm f/1.8 or 50mm f/1.8) or a fast zoom. Open your aperture to f/2.8 or f/4. While f/1.8 provides lovely background blur, its depth of field is so razor-thin that if your pet’s nose is sharp, their eyes may fall out of focus. Stopping down slightly to f/2.8 or f/3.2 keeps the entire facial plane sharp.
In our comprehensive guide to understanding the exposure triangle, we explained how raising ISO allows fast shutter speeds in modest light. Set your camera to Manual Mode with Auto ISO. Fix your shutter speed at 1/500s and your aperture at f/2.8, letting the camera adjust ISO between 400 and 3200 as your pet shifts across the room.
Do not fear modern high ISO settings. Modern camera sensors handle ISO 1600 or 3200 with minimal noise. A slightly grainy image retains crisp whisker detail and fur texture, whereas a photo taken with an inadequate shutter speed will suffer from permanent motion blur.
How Do Treats and Body Language Keep Sessions Stress-Free?
Technical camera mastery means little if your pet feels anxious or overwhelmed during a photo shoot. Domestic animals read human posture and vocal tone with remarkable sensitivity. If you hold an intimidating black camera lens directly over them while barking repetitive commands, dogs and cats will look away, lick their lips, or slink into a quiet corner.
Accomplished animal photographer and author Carli Davidson has frequently emphasized that photographers must respect subtle stress cues in domestic animals. Davidson explains that yawning, lip-licking, and wide eyes showing white sclera are clear indicators that a pet feels pressured. She recommends letting animals sniff the camera while it is turned off, using positive reinforcement, and stopping immediately when an animal signals discomfort.
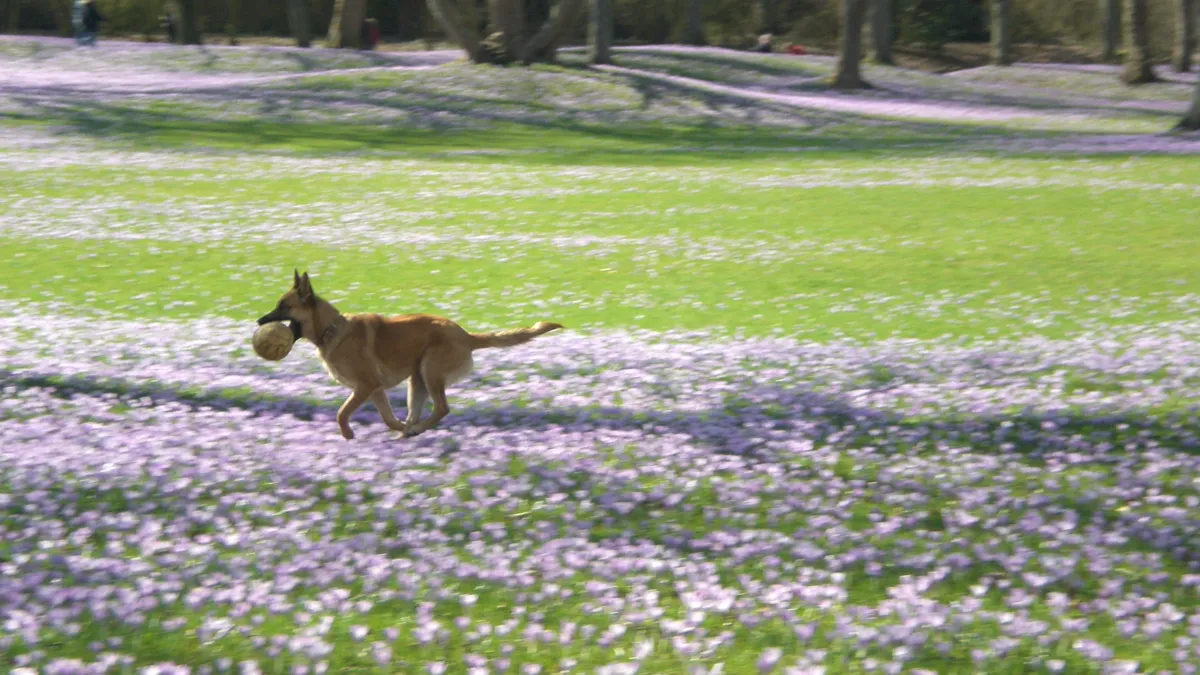
Transform your photography session into a rewarding game. Keep pea-sized, high-value treats on hand, such as tiny pieces of cooked chicken, cheese, or freeze-dried liver. Hold the treat directly above your camera lens to guide the animal’s gaze toward your glass. The moment your camera fires, immediately reward the pet with calm verbal praise and a treat.
For sound-sensitive pets, practice desensitization. Hold a favorite squeaky toy behind your back, give one gentle squeak to perk their ears up, and capture the alert expression before they jump toward you. Keep shooting bursts under five minutes, followed by free playtime, to ensure your companion always associates your camera with fun and rewards.
How Do Recommended Settings Compare Across Pet Scenarios?
Use these baseline settings as starting points for common indoor and outdoor pet photography setups. Adjust your shutter speed higher if your companion is exceptionally active.
| Pet Scenario | Shutter Speed | Aperture | ISO Range | Autofocus & Lighting Setup |
|---|---|---|---|---|
| Indoor Window Portrait | 1/500s | f/2.8 to f/3.5 | Auto ISO (400 to 1600) | Single-point eye AF; large diffused side window light |
| Resting Cat Close-Up | 1/320s to 1/500s | f/2.8 | Auto ISO (400 to 800) | Silent shutter mode; soft ambient room lighting |
| Backyard Running & Fetch | 1/1250s to 1/2000s | f/4 to f/5.6 | Auto ISO (200 to 800) | Continuous AF-C / AI Servo; open shade or morning sun |
| Playful Puppy Indoors | 1/800s to 1/1000s | f/2.0 to f/2.8 | Auto ISO (800 to 3200) | Continuous eye tracking; bright patio or double window |
| Outdoor Golden Hour Sitting | 1/640s | f/2.8 to f/4 | ISO 100 to 200 | Eye AF tracking; gentle low-angle backlighting |
The Practical Home Pet Photography Checklist
Before beginning your next home pet photography session, run through this quick preparation checklist to keep your shoot calm and organized:
- Exercise your dog first: Take high-energy dogs on a brisk 20-minute walk before shooting. A slightly tired pet is calmer, sits more reliably, and exhibits a gentle, relaxed pant.
- Prepare high-value treats: Cut smelly treats into pea-sized bits so your pet can chew quickly without breaking the rhythm of the shoot.
- Clear the background zone: Remove shoes, electrical cords, and laundry baskets from behind your shooting area to keep focus purely on your pet.
- Wipe eye discharge and clean fur: Use a damp pet wipe to clean away stray eye gunk or food crumbs around the muzzle before you start shooting.
- Enable animal eye autofocus: Ensure your camera firmware is updated and set to animal eye detection mode for accurate pupil locking.
- Turn on silent shooting mode: Disable all electronic focus confirmation beeps and activate the electronic shutter to keep noise to zero.
- Bring an assistant if possible: Having a family member hold treats or squeak toys behind you lets you focus entirely on composition and focus.
For more animal behavior tips and beginner camera tutorials, browse our growing collection of Pet Photography field tutorials.
Questions from the field
What is the best shutter speed for photographing pets?
The best baseline shutter speed for pet portraits is 1/500s. Even when a dog or cat appears to be sitting still, tiny head movements, whisker twitches, and rapid breathing will cause motion blur at slower shutter speeds. For dynamic action shots like running or playing fetch, increase your shutter speed to 1/1250s or 1/2000s to freeze paw movement crisply.
Why should I avoid camera flash when taking photos of my pet?
Camera flash should be avoided because domestic pets have a reflective tissue layer behind their retina called the tapetum lucidum. Direct flash bounces off this layer, creating severe green, red, or yellow glare in their pupils. Beyond reflection issues, the sudden burst of bright light startles animals and can make them fear your camera equipment.
Can I take great pet photos with a smartphone?
Yes, modern smartphones can capture beautiful pet portraits when you have ample natural light. Position your pet near a bright window, clean your phone lens, tap directly on your pet’s eye to lock exposure, and use Portrait Mode from two to three feet away. However, dedicated cameras with fast prime lenses still offer superior autofocus speed and motion-freezing capabilities in low indoor light.
How do I get my dog or cat to look directly at the camera?
Hold a high-value treat or an unfamiliar noise maker (like a small squeaker, crinkly wrapper, or soft whistle) directly above or beside your camera lens. Make the sound briefly to draw their curiosity. The moment they look toward the sound, take your shot, then immediately reward them with the treat to reinforce positive behavior.
What lens is best for indoor pet photography?
A fast prime lens like a 35mm f/1.8 or 50mm f/1.8 is ideal for indoor pet portraits. These lenses feature wide maximum apertures that admit large amounts of ambient light in dim living rooms, allowing you to use fast shutter speeds without excessive digital noise, while generating pleasing, soft background separation.
How we researched this: Practical field methods compiled from real-world domestic pet portrait sessions across varied indoor environments and validated against veterinary behavioral guidelines.
Sources: Fear Free Pets handling protocols, International Association of Animal Behavior Consultants, and professional canine photography documentation.