
Settings at a glance: For crisp bird photography around backyard feeders, select Manual mode with Auto ISO, set your shutter speed to 1/1600s to eliminate head-shake blur, open your aperture to f/5.6 or f/6.3 for gentle background isolation, and activate Continuous AF with animal eye tracking.
Every beginner starts bird photography by pointing a camera through the kitchen window at a plastic bird feeder, only to discover that wild birds rarely sit still for portraits. Watch carefully. A chickadee twitches its head constantly, turning what seemed like a stationary shot into a blurry silhouette against plastic mesh. Capturing crisp feather barbules, rich eye catchlights, and authentic wildlife behavior does not require an expensive expedition. By mastering backyard staging, freezing motion with fast shutter speeds, and following strict ethical standards, anyone can produce compelling wildlife images at home.
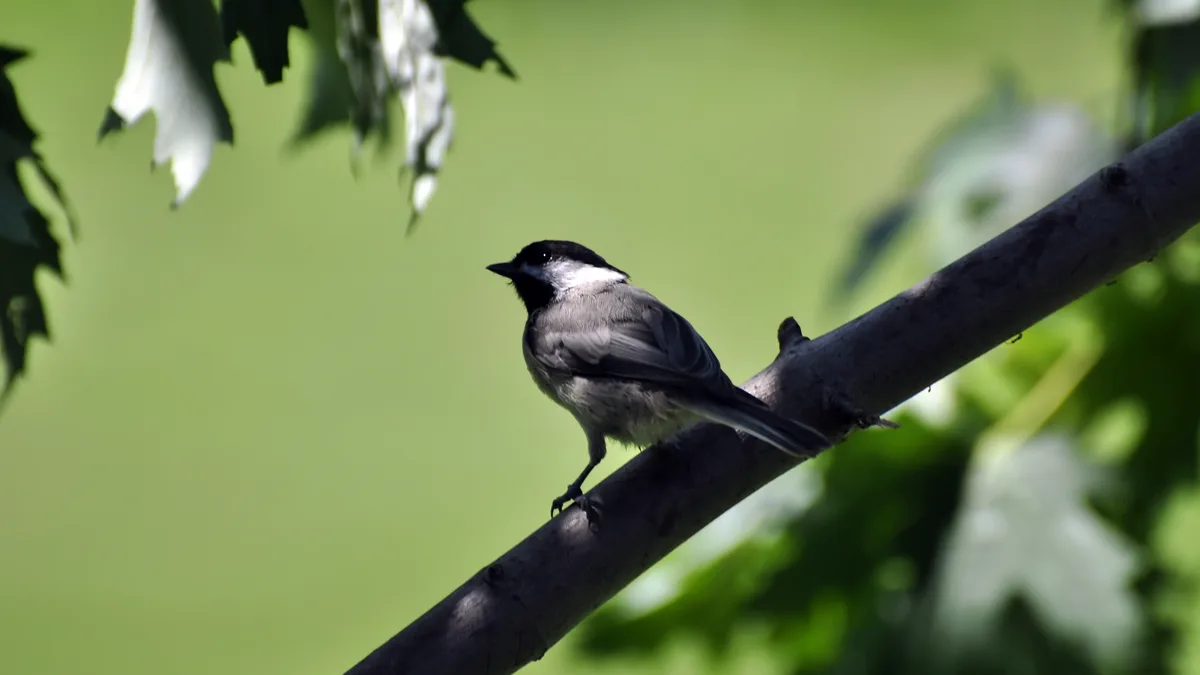
What Is Backyard Bird Photography and Where Should Beginners Start?
Backyard bird photography is the practice of photographing wild birds in domestic garden settings using natural perches, dedicated feeders, and fast shutter speeds. Beginners should start by observing. For beginners looking to learn, local feeding habits and setting up an elevated staging branch near their existing feeder rather than chasing birds around the yard.
Practicing backyard bird photography turns an everyday garden into an accessible outdoor studio. Instead of hiking miles for rare raptors, your patio offers reliable visits from cardinals, nuthatches, and jays. Patience matters. You can study flight patterns, test seasonal light, and refine manual exposure settings without physical fatigue.
Look beyond the feeding hardware itself. Feeders are only tools. Commercial hopper feeders, green wire suet cages, and bright red nectar tubes deliver vital nutrition to local wildlife, but they introduce heavy visual clutter into wildlife frames. The goal of beginner bird photography is mastering fast shutter speeds while curating perches where birds land naturally before feeding.
Explore our complete archive of Backyard Wildlife field guides to learn more about identifying seasonal native species, cultivating protective shelter, and creating safe backyard habitats throughout the year.
How Do You Set Up a Natural Staging Perch Near Your Feeder?
To set up a staging perch, select a fallen native hardwood branch covered in moss or lichen and secure it four to eight feet away from your feeder. Position the branch at feeder height with an open background fifteen feet behind it so landing songbirds stand out cleanly.
The single most effective technique for elevating your wildlife portraits is introducing a dedicated staging perch. Songbirds are cautious foragers. Before dropping onto a feeder, they almost always land on an elevated lookout four to eight feet away to check for danger. Placing an attractive natural branch at this waypoint gives them a secure resting spot for clean, unobstructed portraits.
Details make the difference. Selecting and positioning your staging branch requires attention to organic textures and clean background geometry:
- Select native textured wood: Collect fallen hardwood branches covered in organic lichen, natural moss, or weathered bark (such as oak, birch, or fruitwood). Avoid freshly sawn lumber, smooth dowel rods, or unnatural straight cuts that announce human construction.
- Keep perch diameter proportional: Scale matters every time. Match branch thickness to your target birds’ feet. A chickadee or goldfinch looks awkward gripping a bulky four-inch limb, while a woodpecker or blue jay requires substantial bark to brace its tail feathers. Keep small passerine branches between 0.5 and 1.0 inch in diameter.
- Position 4 to 8 feet from the food source: Place the staging branch slightly above and within jump distance of the feeder. As documented by nature photographer Brad Mitchell in his field workshop notes on backyard setups, songbirds pause on staging perches for two to four seconds on average, offering prime opportunities for tack-sharp captures before they feed.
- Maximize background distance: Keep the background clear of fences and patio furniture for 15 to 25 feet so distant shrubbery dissolves into smooth background blur.
Secure it tightly. Keep it rock solid. Fasten the branch securely to a light stand, shepherd’s hook, or deck railing with garden twine outside the frame. Once birds recognize the perch as a safe lookout, it becomes the most visited spot in your garden.
What Are the Essential Camera Settings for Bird Photography?
The essential camera settings for bird photography are Manual exposure mode paired with Auto ISO, a minimum shutter speed of 1/1600s, and your widest available aperture like f/5.6 or f/6.3. Pair these with continuous autofocus and animal eye tracking to keep restless songbirds pin-sharp across rapid movements.
Speed comes first. Wildlife requires different assumptions than portrait photography. While 1/250s freezes human movement, perched songbirds twitch their heads up to 30 times per second. If your shutter speed is too slow, you get a sharp torso paired with a blurred eye.
Follow these core camera settings for bird photography to secure sharp results on every visit:
- Exposure Mode (Manual with Auto ISO): Set your dial to Manual (M) mode and engage Auto ISO with an upper safety ceiling (such as ISO 6400). This setup lets you lock in the exact shutter speed and aperture needed for subject sharpness, allowing camera metering to seamlessly handle shifting clouds and yard shadows.
- Shutter Speed Priority (1/1600s Minimum): Start at 1/1600s for perched passerines. If your target is an energetic warbler, hummingbird, or an active nuthatch darting between branches, increase your shutter speed to 1/2500s or 1/3200s. Do not compromise here. Never drop below 1/1000s unless photographing large, slow-moving ground feeders like mourning doves in tranquil shade.
- Aperture (Wide Open or Sweet Spot): Set your lens to its widest aperture, typically f/5.6 or f/6.3 on consumer telephoto zoom lenses (such as a 70-300mm or 100-400mm). This maximizes light, keeping shutter speeds fast while softening distracting garden backgrounds.
- Autofocus Mode (Continuous / AF-C / AI Servo): Stationary single-shot focus (AF-S) will cause missed shots because birds continually shift their weight back and forth along the perch. Birds never sit still. Continuous tracking adjusts focus hundreds of times per second to match subtle body sways.
- AF Point Selection (Animal Eye Detection or Small Spot): If your camera features modern animal eye autofocus, enable it and verify the tracking box locks firmly onto the bird’s iris. On earlier camera bodies, select a Single Point or Small Spot AF area and manually keep the active focal point pinned directly over the eye nearest to your lens.
- Drive Mode (High-Speed Burst): Set your drive to continuous burst (typically 7 to 20 frames per second). Short three-to-five shot bursts help you capture expressive micro-poses with open eye catchlights.
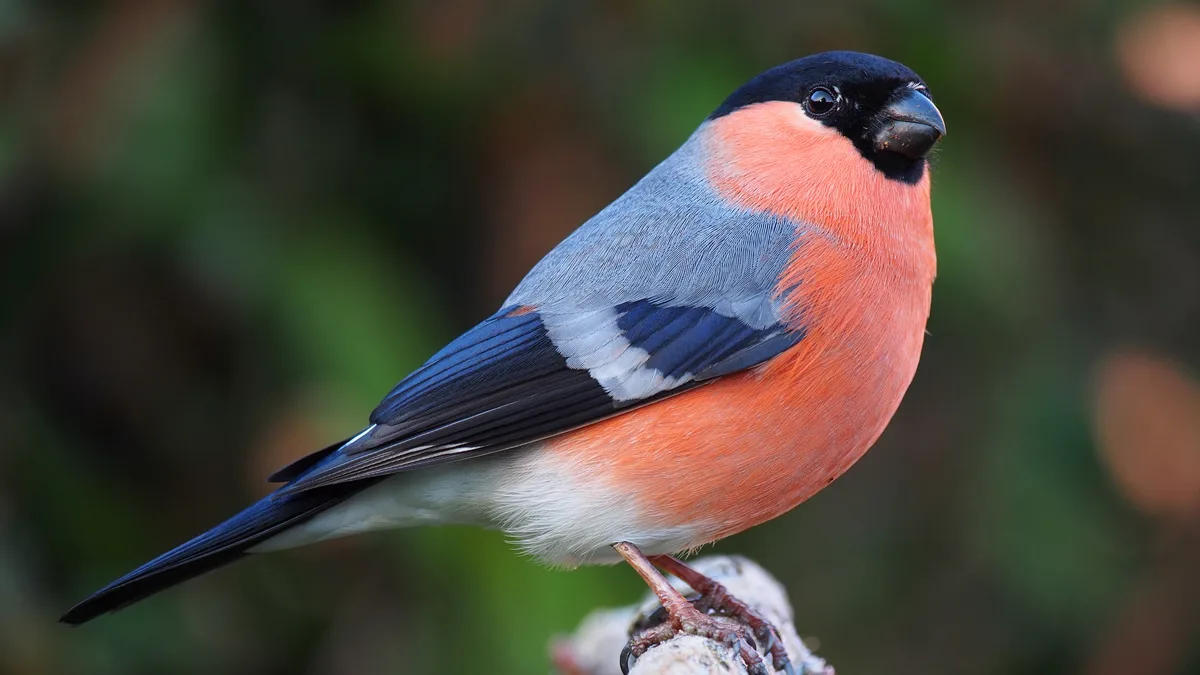
How Do Shutter Speed, Aperture, and ISO Compare Across Scenarios?
Shutter speed dictates whether feather details remain sharp, requiring 1/1600s for perched songbirds and 1/2500s for birds in flight. Aperture stays wide open to isolate subjects against distant greenery, while Auto ISO compensates seamlessly as clouds drift across backyard light.
Because lighting conditions and bird behaviors shift rapidly throughout the day, having clear baseline reference points prevents guesswork in the field. The following reference table provides verified starting settings tailored to typical backyard scenarios:
| Bird Activity & Subject | Recommended Shutter | Recommended Aperture | ISO Strategy | Field Note |
|---|---|---|---|---|
| Perched Songbird (Feeder Perch) | 1/1600s | f/5.6 to f/6.3 | Auto ISO (up to 3200) | Freezes sudden head turns and nervous beak twitches on resting branches. |
| Ground Forager (Doves, Towhees) | 1/1000s | f/5.6 to f/8.0 | Auto ISO (up to 1600) | Allows a slightly deeper depth of field to keep the entire body in focus. |
| Woodpecker on Tree Trunk | 1/2000s | f/6.3 to f/7.1 | Auto ISO (up to 6400) | Necessary to freeze rapid drumming motion and flying wood shavings. |
| Bird Taking Flight (Launch) | 1/2500s to 1/3200s | f/5.6 to f/6.3 | Auto ISO (up to 6400) | Freezes wingtips mid-flap; requires pre-focusing and anticipation. |
| Overcast / Open Shade Garden | 1/1250s to 1/1600s | f/5.6 (wide open) | Auto ISO (up to 6400) | Prioritize shutter speed over digital noise; noise can be reduced in editing. |
When you compare these baseline scenarios, maintaining an adequate shutter speed takes absolute precedence over keeping ISO low. Digital grain or sensor luminance noise can easily be smoothed out during post-processing using modern RAW converters. Motion blur across a bird’s eye or beak permanently ruins an image.
How Do You Build an Inexpensive Backyard Blind or Shoot from Indoors?
How do you create an effective setup? You can build an inexpensive backyard blind by shooting through a clean kitchen window with indoor lights turned off and a rubber lens hood against the glass. Alternatively, drape a neutral canvas or bedsheet across patio chairs with a small opening for your lens barrel.
Wild birds are acutely sensitive to human silhouettes. Lifting a heavy lens from a patio chair produces vertical movement that triggers instant flight. Breaking up your outline is essential for close behavioral shots.
You do not need a commercial pop-up hunting blind to conceal yourself effectively. Two zero-cost blind strategies work exceptionally well in suburban backyards:
- The Indoor Kitchen Window Blind: Shooting from inside your home through an open patio door or clean window glass offers total concealment and protection from cold weather. In his field tests on backyard bird photography techniques, photographer Dan Carr emphasizes that when shooting through double-pane window glass, two rules are vital: turn off all interior room lights behind the camera to eliminate reflection ghosts, and hold a rubber lens hood directly against or within millimeters of the glass surface at a 90-degree perpendicular angle to eliminate optical distortion and contrast haze.
- The Backyard Canvas or Throw Screen: If shooting outdoors on a patio or balcony, erect a temporary barrier using an old brown, tan, or dark green bedsheet draped over patio chairs, a stepladder, or a garment rack. Cut a small four-inch vertical slit for your lens barrel to poke through. Birds quickly accept the static fabric as an inanimate fixture of the yard, allowing you to observe undisturbed natural behavior from just ten feet away.
Move like water. Move your lens barrel slowly. Rapid panning startles birds even through a screen. Let them settle, wait until they start feeding, and squeeze the shutter gently.
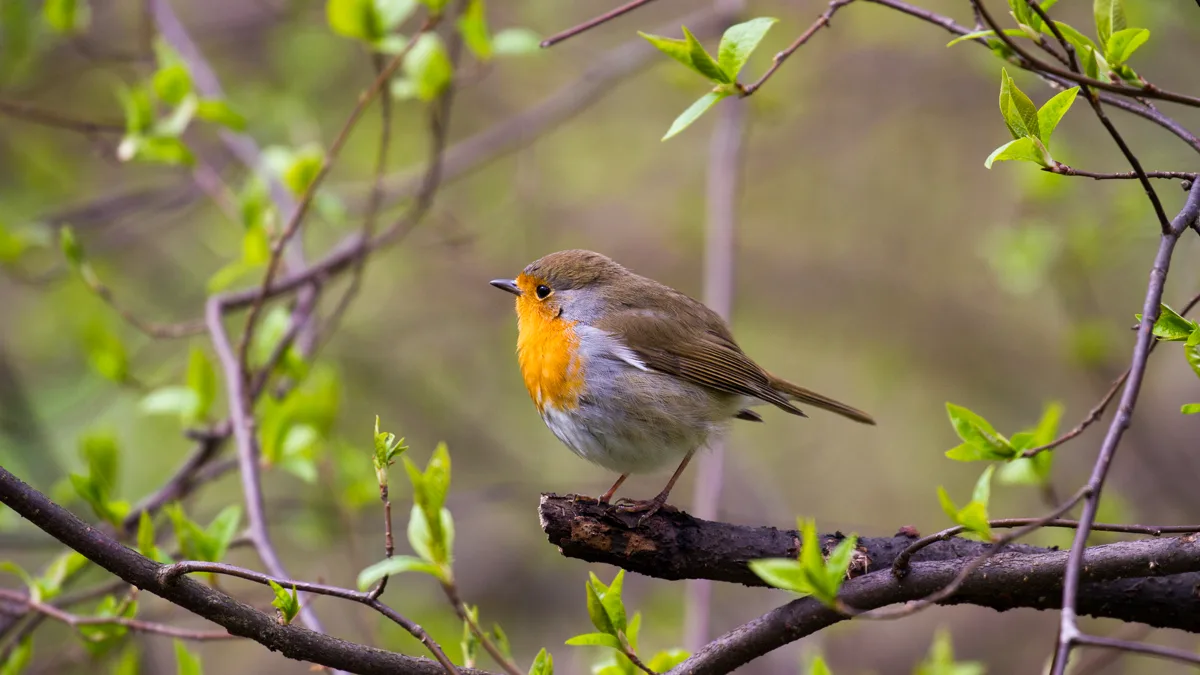
Practical Bird Photography Tips for Morning and Afternoon Light
Light changes everything. Light is the defining ingredient that separates a flat, clinical record shot from an evocative piece of wildlife art. The quality, color temperature, and angle of outdoor illumination determine whether feathers reveal delicate iridescence or vanish into harsh, muddy shadows.
Apply these practical bird photography tips to make the most of changing daily lighting conditions:
- Wake up early. Prioritize Golden Hour Angles: Golden morning glow and warm afternoon light produce low-angled illumination that strikes the bird horizontally, banishing harsh under-belly shadows.
- Look for the sparkle. Ensure a Prominent Catchlight: Position your feeding station and staging perch so the morning sun sits directly behind your shooting shoulder. This front-lighting casts a sharp, brilliant white reflection, known as a catchlight, into the dark iris of the bird. Without a catchlight, a bird’s eye appears lifeless, glassy, and hollow.
- Find open tree shade. Embrace Open Shade on Bright Midday Days: Avoid harsh overhead sun. Direct noon sun blows out pale feathers and casts harsh shadows under wings. If shooting midday, place your perch in open shade (under a porch or tree canopy) for even, flattering light.
- Drop Down to Eye Level: One of the most common beginner errors is photographing garden birds from a standing position, pointing the camera downward at a 45-degree angle toward the lawn or feeder base. This downward perspective flattens the subject against distracting turf. Drop down low now. Lower your tripod, kneel on a garden cushion, or rest your lens on a patio table so your optical axis aligns horizontally with the bird’s eye. Get down low. Eye-level perspective instantly creates an intimate personal connection and pushes backgrounds into distant blur.
Checklist: 9 Backyard Rules for Ethical and Sharp Bird Photography
Keep these nine field-tested rules in mind every time you set up your gear in the garden:
- Lock in 1/1600s shutter speed: Never sacrifice shutter speed for lower ISO; always ensure subject motion is frozen first.
- Place perches 4 to 8 feet from feeders: Give cautious birds a natural staging platform before they land on artificial hoppers.
- Match perch diameter to bird feet: Use 0.5 to 1.0-inch natural branches with bark and lichen for backyard songbirds.
- Keep background greenery 15+ feet away: Ensure generous physical separation behind the perch to render distracting garden clutter into smooth bokeh.
- Shoot directly at eye level: Lower your tripod or camera position to meet the bird on its horizontal plane rather than shooting downward.
- Use animal eye autofocus or small spot AF: Keep the critical focus point pinned directly on the pupil nearest to your lens.
- Before you shoot, remember camera sensor sensitivity (iso sensitivity). Turn off indoor lights when shooting through glass: Eliminate reflection ghosts and press a rubber lens hood flush against the window pane.
- Clean your feeding stations weekly: Wash seed trays and perches with a 10% vinegar or mild bleach solution to prevent avian disease transmission.
- Put bird welfare before any photograph: Never harass, bait with live prey, or disturb nesting sites for the sake of an image.
Ethical Wildlife Photography: Protecting Nests and Natural Feeding Habitats
Ethics come first. Photographers bear an ethical duty to put animal welfare before images. In garden settings, birds accept our presence because we offer safety and food. Violating that trust harms local wildlife and disrupts natural feeding behavior.
Field rule: Always adhere to the official Audubon Guide to Ethical Bird Photography and the NANPA Principles of Ethical Field Practices. Never alter active nests, never use artificial audio playback during breeding season, and never bait predatory birds with live or tethered rodents.
Keep the following core ethical boundaries non-negotiable throughout your photographic journey:
- Zero Disturbance Around Nests: Leave nests alone. Never photograph active bird nests, nest boxes, or dependent fledglings. Approaching nests tramples cover, leaves scent trails for predators, and can cause parents to abandon eggs. If you spot birds carrying nesting material or food, maintain at least 50 to 100 feet of distance.
- Ban Audio Call Playback: Never use call playback. Avoid playing recorded bird calls or distress vocalizations through smartphone apps or Bluetooth speakers to lure birds closer to your camera. Playback causes high stress and wastes precious calories as songbirds chase phantom rivals instead of foraging.
- Prevent Feeder Disease Transmission: High-density feeding stations can inadvertently spread contagious avian illnesses, such as salmonellosis or house finch conjunctivitis. Cleanliness saves wild lives. Inspect your feeder perches and staging branches regularly. If you spot a sick bird with swollen eyes or lethargy, take down feeders immediately, sanitize all perches with a mild bleach solution, and wait two weeks before refilling.
- Respect Flight Distances: Watch for warning signs. Learn to read avian body language. If a bird pauses feeding, freezes, raises its crest, or flicks its tail wings nervously while staring in your direction, you have breached its personal comfort bubble. Take two slow steps backward and wait quietly until normal feeding behavior resumes.
True success means leaving wild creatures completely undisturbed. When you approach backyard wildlife with patience, knowledge, and ethical reverence, your photos reflect genuine natural beauty.
Frequently Asked Questions (FAQ)
What is the best lens focal length for backyard bird photography?
Telephoto reach is key. A focal length between 300mm and 400mm is ideal for full-frame cameras. On APS-C crop sensors, a 70-300mm zoom provides an effective 105-450mm reach, giving ample working distance without crowding birds.
Why are my feeder photos blurry even though the bird looked completely still?
Small birds move instantly. Songbirds make lightning-fast micro-movements, twitching their heads and fluttering their wings up to thirty times per second even while perching. A shutter speed of 1/250s or 1/500s is fast enough for stationary humans, but songbirds require at least 1/1600s to reliably freeze head motion and render crisp eye details.
Should I use a tripod or shoot handheld for garden birds?
Handheld shooting feels fast. Shooting handheld offers greater flexibility to quickly adjust camera angles when birds flit between different branches. However, using a sturdy tripod or resting your lens on a beanbag along a deck railing reduces arm fatigue during lengthy waits and ensures sharper alignment when shooting through window glass.
Can I take good bird photos on a cloudy or overcast day?
Clouds help your work. Overcast skies act like a giant outdoor softbox, providing soft, diffuse illumination that eliminates harsh shadows under bellies and prevents white breast feathers from blowing out. You will need to raise your ISO (often to ISO 1600-3200) to maintain a fast shutter speed of 1/1250s or 1/1600s in dimmer light, but modern sensors easily handle this noise.
Is it safe to feed birds during the photography process?
Quality bird seed counts. Providing high-quality native black oil sunflower seeds, nyjer, or clean suet is safe and beneficial for backyard songbirds, provided feeding equipment and staging perches are scrubbed and disinfected regularly. Baiting is completely wrong. Always avoid baiting predatory birds or owls with live pet-store rodents, which is unethical and illegal in many jurisdictions.
Field photographers often raise common questions about gear, ethics, and technique.
How we researched this: settings, shutter thresholds and ethical codes come from manufacturer documentation, field testing and Audubon guidelines. AI tools helped with the first draft; an editor verified every recommendation.
Sources: Audubon Guide to Ethical Bird Photography, NANPA Principles of Ethical Field Practices, and manufacturer camera guides.